How to Winterize Your RV: A Step-by-Step Guide

When summer's adventures are over, fall is the perfect time to park your RV and prepare it for winter hibernation. While you can pay someone to winterize it for you, doing it yourself is a satisfying project that gives you hands-on knowledge of your rig and saves real money. It does take some work, but the payoff — avoiding the expensive disaster of burst water lines and freeze damage — is well worth it. If it's your first time, don't be overwhelmed; think of it as a routine RV check-up. Here's a step-by-step guide to winterizing your RV.
Why winterizing your RV matters
The number one reason to winterize is water. Any water left in your RV's plumbing system will freeze when temperatures drop, expanding and cracking pipes, fittings, the water heater, and the water pump — leading to expensive damage you won't discover until spring when everything leaks. Beyond plumbing, winter cold, moisture, and pests can damage an unprepared RV's interior, batteries, and exterior. Winterizing protects your significant investment from all of this. The few hours it takes in fall save you potentially thousands in repairs and a ruined start to next season. It's essential maintenance for anyone storing an RV through freezing weather.
Drain the water system
The heart of winterizing is getting all the water out of your plumbing. Start by draining the fresh water tank, the gray and black water tanks (at a proper dump station), and the water heater (let it cool and depressurize first — never drain it hot or under pressure). Open all the faucets (hot and cold), the low-point drain valves, and the toilet to let the lines empty completely. Running the water pump briefly can help push remaining water out, but don't run it dry for long. Getting every drop of water out of the system is the goal, since any left behind can freeze and cause damage.
Bypass the water heater
Before adding antifreeze, set your water heater to "bypass" mode if your RV has a bypass valve (most do). This routes the antifreeze around the water heater rather than filling its large tank, which would waste gallons of antifreeze unnecessarily. If your RV doesn't have a bypass kit, installing one is a worthwhile, inexpensive upgrade. Bypassing the water heater means you only need a few gallons of antifreeze instead of many, saving money and effort. Double-check the bypass valves are set correctly before proceeding, as this step is easy to overlook but important for doing the job efficiently.

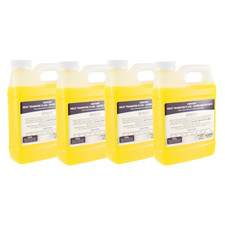
Add RV antifreeze
Now pump non-toxic RV antifreeze (the pink kind, specifically made for RV plumbing — never automotive antifreeze, which is toxic) through your entire water system. Using a water pump conversion kit or by pouring antifreeze into the system, run the pump and open each faucet one at a time (hot then cold) until pink antifreeze flows out, then close it. Do this for every faucet, the shower, the toilet, and any outside shower or water connection. Pour some antifreeze down each drain to protect the P-traps, and a little in the toilet bowl. When pink antifreeze appears at every outlet, your plumbing is protected from freezing. This is the key protective step.
Protect the interior from pests and moisture
An RV in storage is an inviting shelter for mice and other pests, and a damp environment for mold. Remove all food (even non-perishables, which attract pests), clean the interior thoroughly, and seal up entry points where mice could get in. Place moisture absorbers or a dehumidifier product inside to prevent mold and mildew, and consider pest deterrents. Leave cabinet doors and the fridge propped open to allow airflow and prevent musty odors and mold. A clean, dry, pest-proofed interior comes through winter in far better shape, ready to use again in spring rather than needing a deep clean and pest removal.
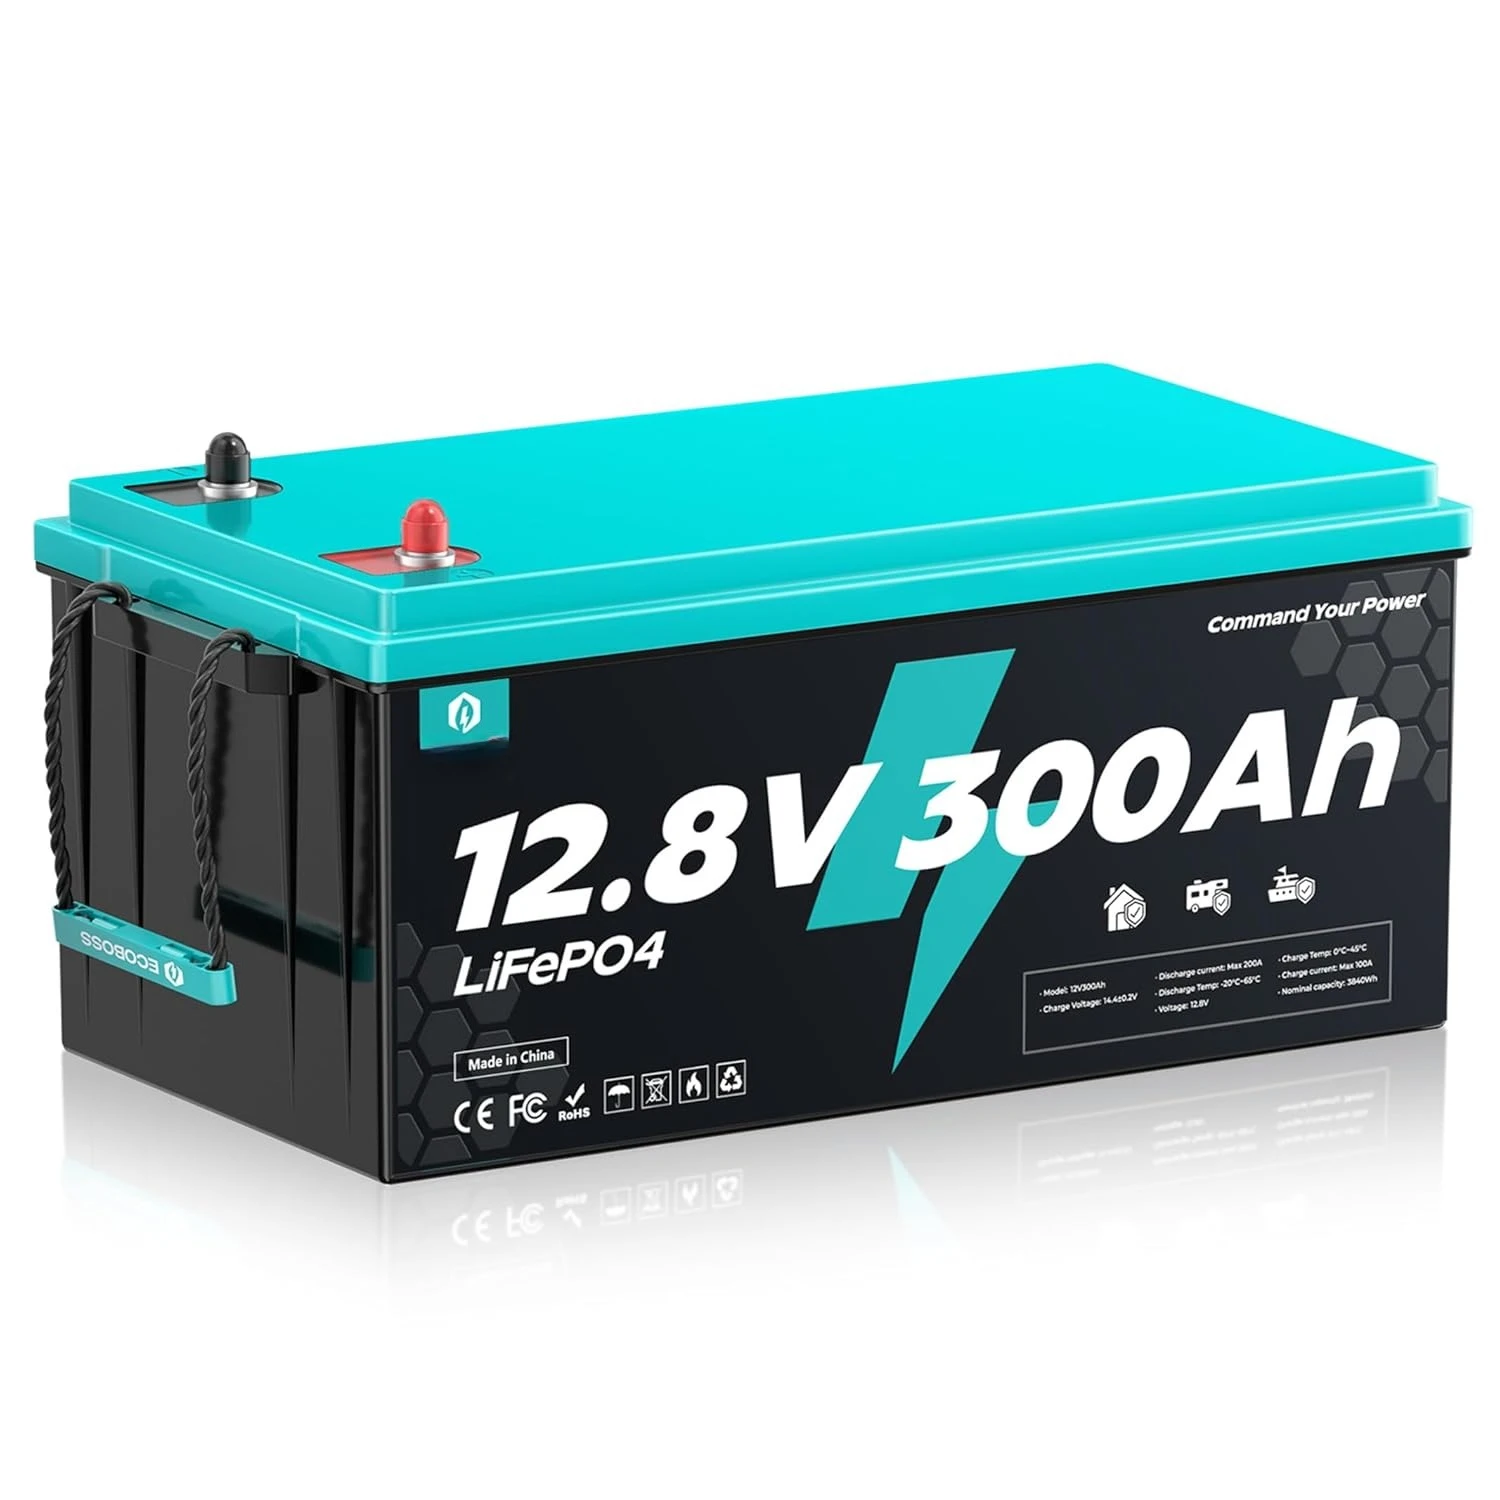
Tend to the battery and exterior
Your RV's battery and exterior need attention too. Disconnect the battery (or remove it and store it somewhere it won't freeze), and keep it charged through winter with a maintainer, since a discharged battery can freeze and be ruined. Outside, clean the RV, inspect and reseal any roof or seam leaks (water intrusion over winter causes serious damage), and cover the RV with a breathable RV cover to protect it from snow, ice, and UV while preventing moisture buildup. If storing outdoors, consider tire covers and taking weight off the tires. Protecting the battery and exterior rounds out a complete winterization.
Keep a checklist for spring
Finally, keep notes on what you did so de-winterizing in spring goes smoothly — you'll need to flush out the antifreeze, sanitize the fresh water system, reconnect the battery, and check everything over before your first trip. Making a simple winterizing and de-winterizing checklist turns the whole process into a manageable routine you'll repeat confidently each year. Many RVers find that after the first time, winterizing becomes a satisfying seasonal ritual that connects them to their rig and saves them money year after year. A little organization makes both ends of the process easy.

What I'd skip
Skip leaving any water in the plumbing — it freezes, expands, and cracks pipes and the water heater. Skip automotive antifreeze; use only non-toxic RV (pink) antifreeze in your water system. Skip leaving food or unsealed entry points, which invite pests. And skip storing the battery where it can freeze and be ruined; disconnect and maintain it.
The honest answer
Winterizing your RV protects it from the burst pipes and freeze damage that an unprepared rig suffers: drain the entire water system, bypass the water heater, pump non-toxic RV antifreeze through every line, protect the interior from pests and moisture, tend to the battery and exterior, and cover it well. It's a satisfying DIY project that saves money and gives you hands-on knowledge of your RV. Do it in the fall before the freeze, keep a checklist for spring, and your RV will emerge from winter ready for next season's adventures — rather than facing a spring full of expensive repairs.
Ready to shop? Compare RV antifreeze across stores →